Drawing projections
There are a number of techniques of projection that can be used to represent three-dimensional objects in two-dimensions by 'projecting' their image onto a planar surface.
Drawing projections should comply with relevant standards (such as British Standards) to prevent misunderstanding and avoid errors in interpreting the drawing.
See also projections detailing, projections measurement and projections dataset.
Contents |
[edit] Orthographic projection
Orthographic projection is a type of 'parallel' projection in which the four orthogonal views of an object are shown. The orthographic projection commonly used in the UK is called first angle projection.
[edit] Axonometric projection
Axonometric projection creates a true plan set at 45º, which retains the original orthogonal geometry of the plan. It is particularly suitable for representing interior designs, such as kitchen layouts. Planning drawings can also be effective represented as axonometric projections, showing the relationships between buildings and topography.
The axonometric method became increasingly popular in the 20th century as a formal presentation technique, but recently has become less widely used due to the emergence of CAD programmes and building information modelling.
NB Drawing for Understanding, Creating Interpretive Drawings of Historic Buildings, published by Historic England in 2016 suggests that axonometric projection: 'Is a type of parallel projection used for creating a drawing where the plan is drawn to scale but rotated at an angle of 60° or 30°along one or more of its axes relative to the normal axis.'
[edit] Isometric projection
The isometric was the standard view until the mid-20th century. Unlike the axonometric projection, the isometric plan view is slightly distorted, using a plan grid at 30º from the horizontal in both directions. It can be used to show the nature of the design and explain construction details more clearly than an orthographic projection. It is sometimes used during concept design to help the client grasp the mass of the proposal.
[edit] Oblique projection
When primary information is drawn in elevation, the interpretation can be enhanced by an oblique projection. This is a simple method of producing two-dimensional images of three-dimensional objects. The differentiating characteristic of oblique projection is that the drawn objects are not in perspective, and so do not correspond to any actual obtainable view.
[edit] Parallel projection
'Parallel projections have lines of projection that are parallel both in reality and in the projection plane.' Ref Drawing for Understanding, Creating Interpretive Drawings of Historic Buildings, published by Historic England in 2016.
[edit] Related articles on Designing Buildings
- Architectural reprography.
- As-built drawings and record drawings.
- Assembly drawing.
- Augmented reality in construction.
- Bill of quantities.
- Blueprint.
- Building information modelling.
- CAD layer.
- Component drawing.
- Computer aided design.
- Concept drawing.
- ConTech.
- Detail drawing.
- Elevations.
- Engineering drawing.
- Exploded view.
- General arrangement drawing.
- Geometric form.
- How to draw a floor plan.
- Installation drawings.
- Manual drafting techniques.
- North American Paper Sizes
- Notation and symbols.
- Orthogonal plan.
- Paper sizes (ISO 216 A, B and C series)
- Production information.
- Section drawing.
- Shop drawings.
- Site plan.
- Specification.
- Technical drawing.
- Types of drawings.
- Working drawing.
Featured articles and news
Costs and insolvencies mount for SMEs, despite growth
Construction sector under insolvency and wage bill pressure in part linked to National Insurance, says report.
The place for vitrified clay pipes in modern infrastructure
Why vitrified clay pipes are reclaiming their role in built projects.
Research by construction PR consultancy LMC published.
Roles and responsibilities of domestic clients
ACA Safety in Construction guide for domestic clients.
Fire door compliance in UK commercial buildings
Architect and manufacturer gives their low down.
Plumbing and heating for sustainability in new properties
Technical Engineer runs through changes in regulations, innovations in materials, and product systems.
Awareness of the Carbon Border Adjustment Mechanism
What CBAM is and what to do about it.
The new towns and strategic environmental assessments
12 locations of the New Towns Taskforce reduced to 7 within the new towns draft programme and open consultation.
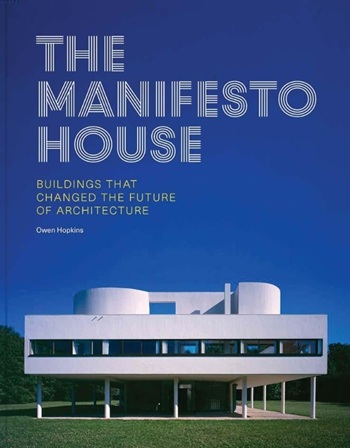
Buildings that changed the future of architecture. Book review.
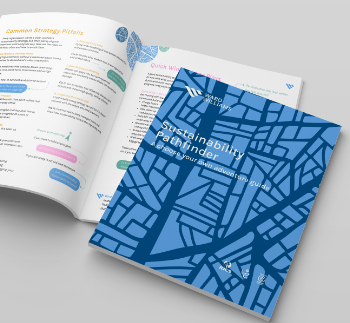
The Sustainability Pathfinder© Handbook
Built environment agency launches free Pathfinder© tool to help businesses progress sustainability strategies.
Government outcome to the late payment consultation, ECA reacts.
IHBC 2025 Gus Astley Student Award winners
Work on the role of hewing in UK historic conservation a win for Jack Parker of Oxford Brookes University.
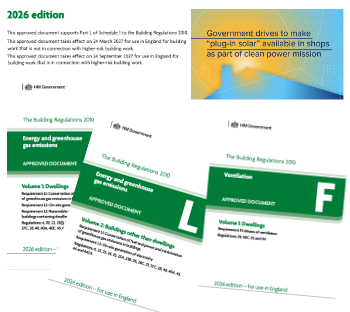
Future Homes Building Standards and plug-in solar
Parts F and L amendments, the availability of solar panels and industry responses.
How later living housing can help solve the housing crisis
Unlocking homes, unlocking lives.
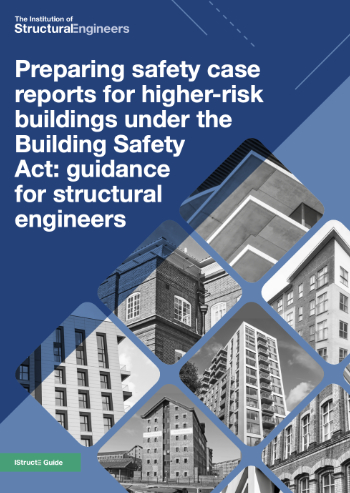
Preparing safety case reports for HRBs under the BSA
A new practical guide to preparing structural inputs for safety cases and safety case reports published by IStructE.
Male construction workers and prostate cancer
CIOB and Prostate Cancer UK encourage awareness of prostate cancer risks, and what to do about it.


